Do you need to correct an error on an accounts payable invoice that’s already been posted?
Or have you received a credit memo from your vendor and needed to change the amount of the invoice balance? If so, this software tip will show you step by step in Sage 100, how to adjust an accounts payable posted invoice.
View this Sage 100 step by step software tip in a video format (2:32)
View this Sage 100 step by step software tip with individual screen shots below.
To adjust a posted invoice:
- Select Accounts Payable > Main > Invoice Data Entry
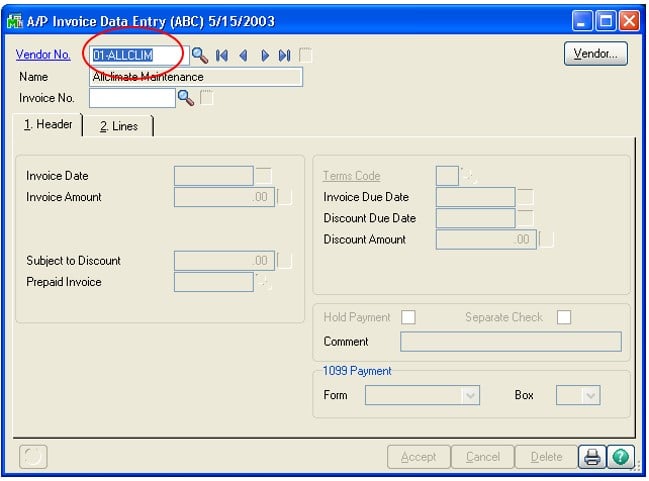
- In the A/P Invoice Data Entry window, at the Vendor no. field, enter the vendor number for the invoice to adjust.
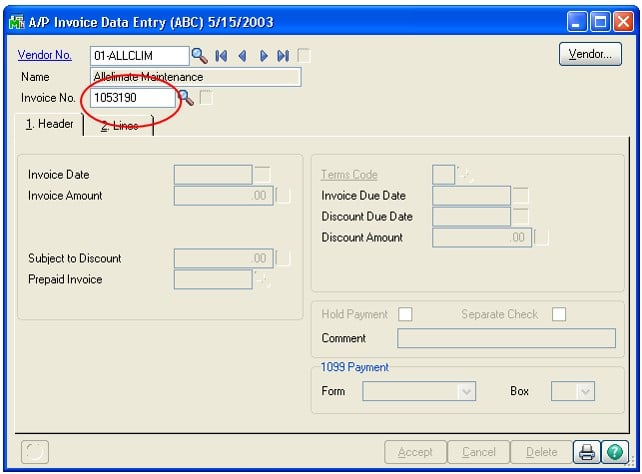
- At the Invoice No. field, enter the invoice number to adjust.
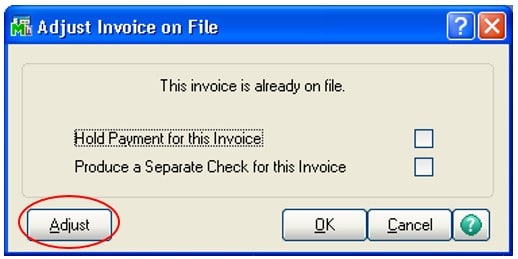
- The Adjust Invoice on File window should appear. In the Adjust Invoice on File window, click Adjust.
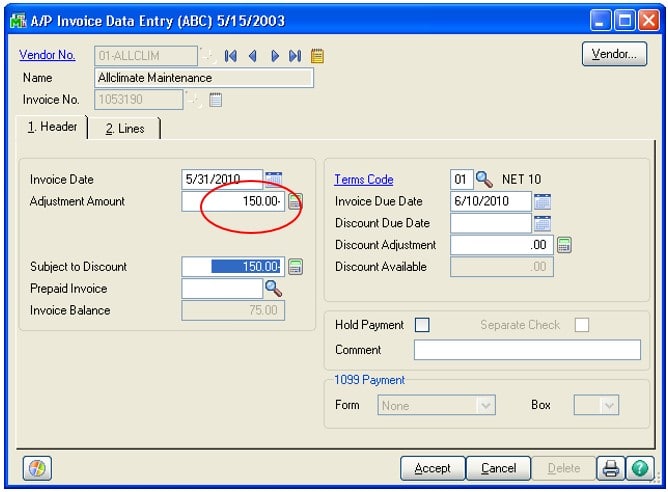
- In the A/P Invoice Data Entry window, at the Adjustment Amount field, enter the dollar amount to add to the invoice amount; use the minus (-) sign to decrease the invoice amount.
- Click the Lines tab. At the G/L Account field, enter the general ledger account number to post the adjustment.
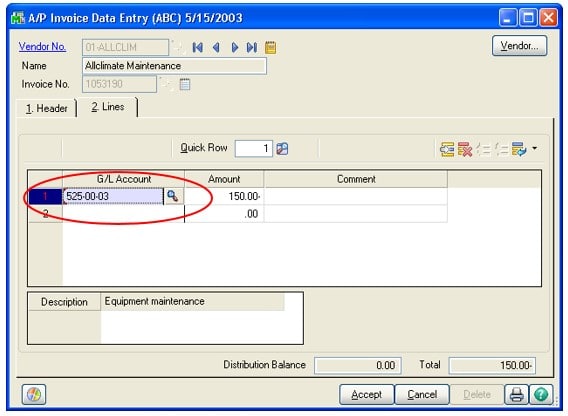
- At the Amount Field, type the amount to post use the minus (-) sign to decrease the amount, and click Accept.
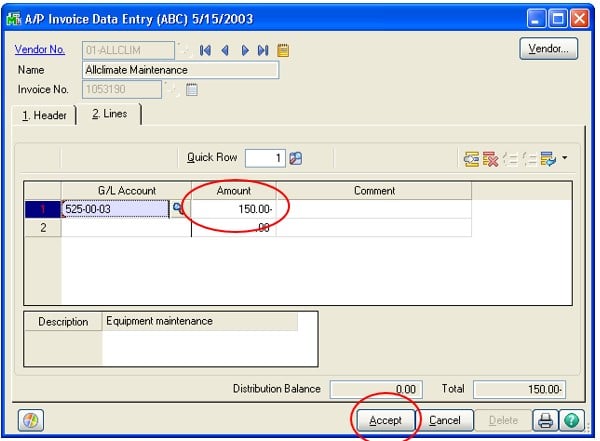
- The invoice is adjusted. Print and update the Invoice Register and the Daily Transaction Register.
If you need assistance adjusting an accounts payable posted invoice or have other Sage 100 questions, contact our consultants at 260.423.2414.
Register for our Sage 100 newsletter today!

