Do you have frequently-used tasks you want quick access to?
Instead of rifling through the modules menu, learn how to have a button at your fingertips.
Two types of buttons can be added to each user’s Sage 100 toolbar. A user can add either a Sage 100 task or a link to an external program. Let’s add Customer Maintenance as a button.
View this Sage 100 step by step software tip in a video format (6:00)
View this Sage 100 step by step software tip with individual screen shots below.
On the button toolbar, right-click to pop-up the Add menu. Then, select Task.
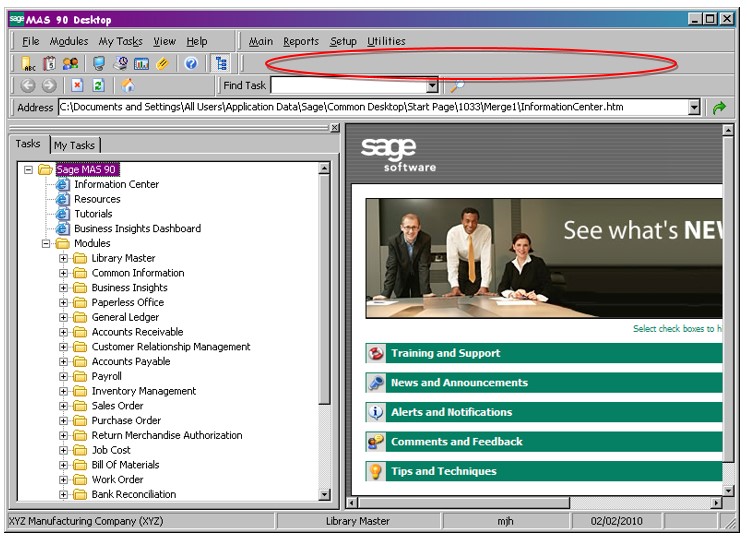
When you select Task, the listing of Sage 100 functions opens.
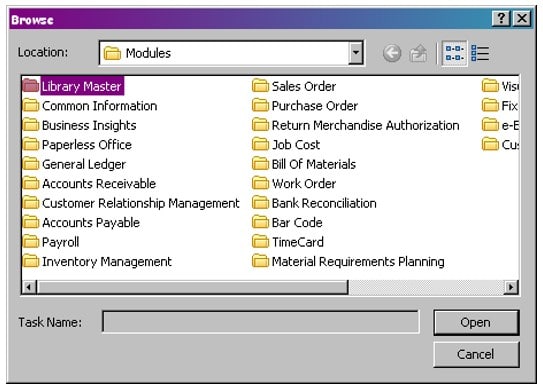
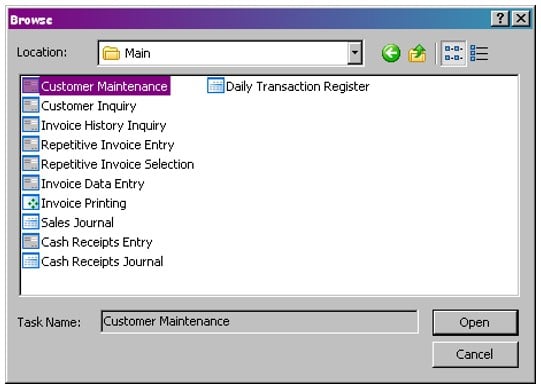
Double-click into Accounts Receivable. You’ll then see a listing of the folders as you would when you expand the modules on the Sage 100 desktop. Double-click into Main. You’re then presented with the specific tasks in Accounts Receivable > Main. Select Customer Maintenance and click Open.
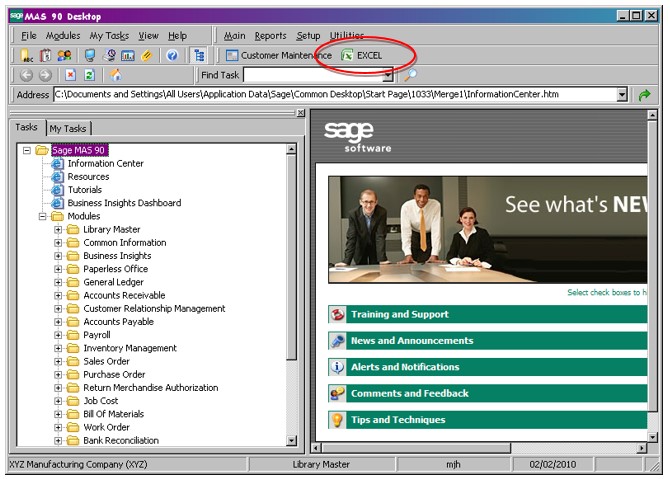
Your button will now appear on your toolbar.
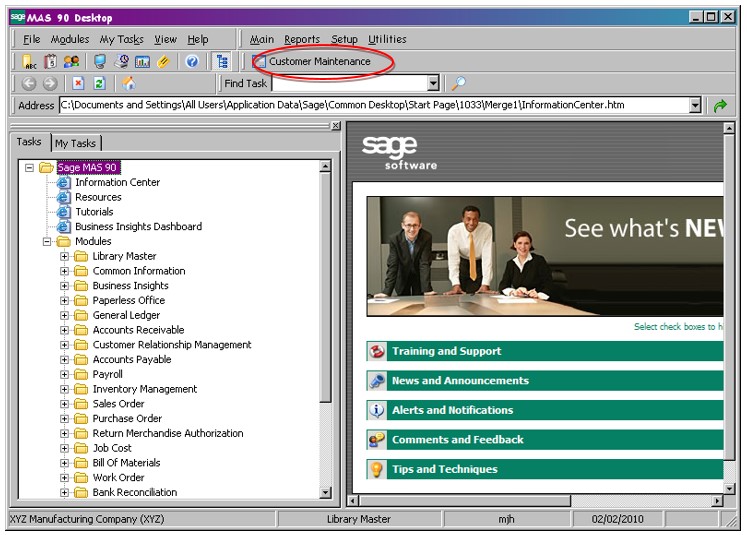
At this point, you can customize the label on the button. You can opt not to show labels on all buttons, or you can rename any specific button. To customize, right-click on the button and left-click on Customize.
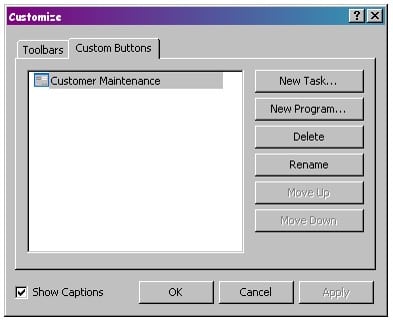
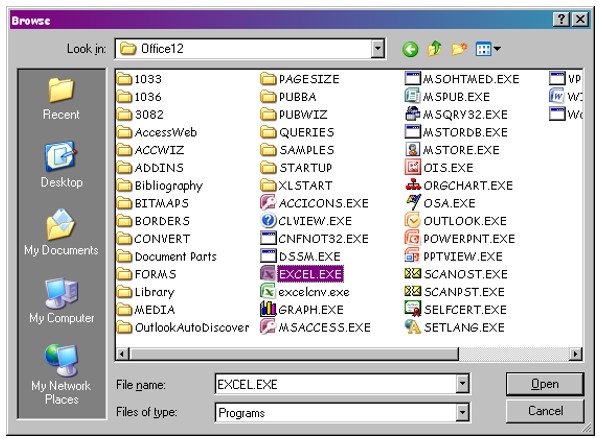
To add an external program link, right-click on the toolbar and select Add > Program. You will need to locate the executable for the program you want to launch. To add Excel as a program button, locate the executable and select Open. You’ll now see the button for your Excel program, which you can launch directly from the Sage 100 desktop.
Adding buttons to the Sage 100 toolbar for commonly used functions can help in processing day-to-day tasks because you can save time not having to locate the specific task within the module hierarchy.
Register for our Sage 100 newsletter today!
